When the temperatures start to drop at the end of the summer, it's time to start thinking about closing your pool for the winter. Properly winterizing your pool will not only protect it from damage caused by freezing temperatures but also make reopening it much easier in the spring.
Skipping or rushing through closing your pool can lead to costly problems, such as cracked plumbing, damaged equipment, or algae growth. Taking the time to close your pool correctly can help to:
The correct time to close your pool depends on where you live, and can also vary year by year. As a general rule of thumb, if the temperature has dropped and stayed below 65°F for several days, then this is a good time to close up your pool.
This temperature is because algae need heat to thrive, and cold temperatures help keep your water clear. If you live in an area where temperatures can rise above 65°F for a few days during the winter, you can take advantage of these warm spells to test and balance the water chemistry of your pool, helping to keep your water clean and clear until spring.
Being prepared is a vital part of any smooth-running operation. Ensure you have all the necessary supplies before beginning winterization of your pool. The exact list of what you need may vary depending on where you live and the conditions of your pool, but here is a good start.
OR
The first step in closing your pool for the winter is to ensure it's clean. Skim out leaves, debris, or anything else that is floating in the water with a skimmer net (also known as a leaf net), before brushing your pool walls and floor. This will help to kick up any sediment hanging around, as well as disturb any algae spores that are starting to gather. If you do see any algae beginning to bloom in your pool, be sure to use an algae brush and be especially thorough, especially in the corners and edges of your pool.
Using an algae brush breaks up the algae so it can be vacuumed by a pool vacuum, as well as disturbing any blooms so they're more susceptible to chemical treatments.
Finally, vacuum your pool to remove everything that has been disturbed while you were brushing.
It's essential to test the levels in your pool (pH, alkalinity, etc.) to ensure that the water is balanced before closing. This is to protect the pool from corrosion and scale buildup that is liable to occur when your pool is closed.
Your water should be within the following ranges:
For more help on balancing your pool, check out our blog How To Balance Pool Water.
You'll be shocking your pool in the next step, so you don't need to worry about your chlorine levels just yet.
Either a few days before you close, or the night before you put your winter cover on, shock your pool for one last time. If you notice that your water is green or there are any algae blooms, add double or triple the amount of shock, depending on the severity of the algae problem. Check out our blog How do I Fix A Green Pool? for more information on how to deal with an algae flare-up.
After you've shocked your pool, run the pump overnight to distribute the shock throughout the pool and your circulation system. Even though doing this may add a day or so to your closing schedule, it will save you from a larger struggle when you come to open your pool again in the spring.
As before, ensure that the chlorine levels drop to a normal range of 7.2 - 7.6 pH before proceeding with the next steps.
Once all the levels have returned to normal after shocking your pool, then it's time to add your winterizing chemicals. This includes a winter algaecide, and if you live in an area with high metal content, consider a stain and scale preventer as well.
A winter algaecide will prevent the growth of algae spores throughout the off-season. If your cover is mesh, has a mesh panel, or any other way for dirt and debris to enter the water through the winter, then use a double dose of algaecide.
If you live in an area with water that has a high concentration of metals, add a stain and scale preventer when closing, so the metals can't settle onto your pool surfaces and eventually cause stains.
The reason for removing some water at the end of the season is to prevent freeze damage and possible overflow.
Your water should be positioned below the tile border or the edge of the skimmer, whichever is lower, if you don't have a tile line (or if you have both, the lower of the two). If the winter is stormy or if you experience frequent thaws throughout the season, it's a good idea to monitor your water level even when your pool is closed.
Be sure to check with your local guidelines for disposing of any pool water that has been treated with chemicals before lowering the water level in your pool.
Closing your pool is a great time to clean your filter deep so you can start the next season without any dirt and debris that has been sitting in it all winter.
How you clean your filter depends on the type of filter you have:
Now is also the time to drain all the water from your pool equipment (pump, filter, heater, etc.).
If you experience freezing temperatures regularly, you'll need to remove every last bit of water from your pool equipment, including the lines, pump, and filter. This is to prevent fractures caused by ice in the lines and equipment, and also means that you don't need to add antifreeze.
The plumbing in your pool isn't designed to handle large amounts of excess pressure, so purging the lines is a delicate process. It's recommended to hire a pool professional, even if just for this step, if you aren't 100% confident with the process.
If you have a saltwater pool with a saltwater generator - set the generator to the "winter" setting if it has one. If not, then most chlorine generators will have a removable electrolytic cell that you can access easily by unscrewing the end caps.
Remove the cell, or even your entire salt system, and store it inside for the winter. You should take a few moments to clean the cell before you store it - prolonging its life and reducing the risk of hardware problems.
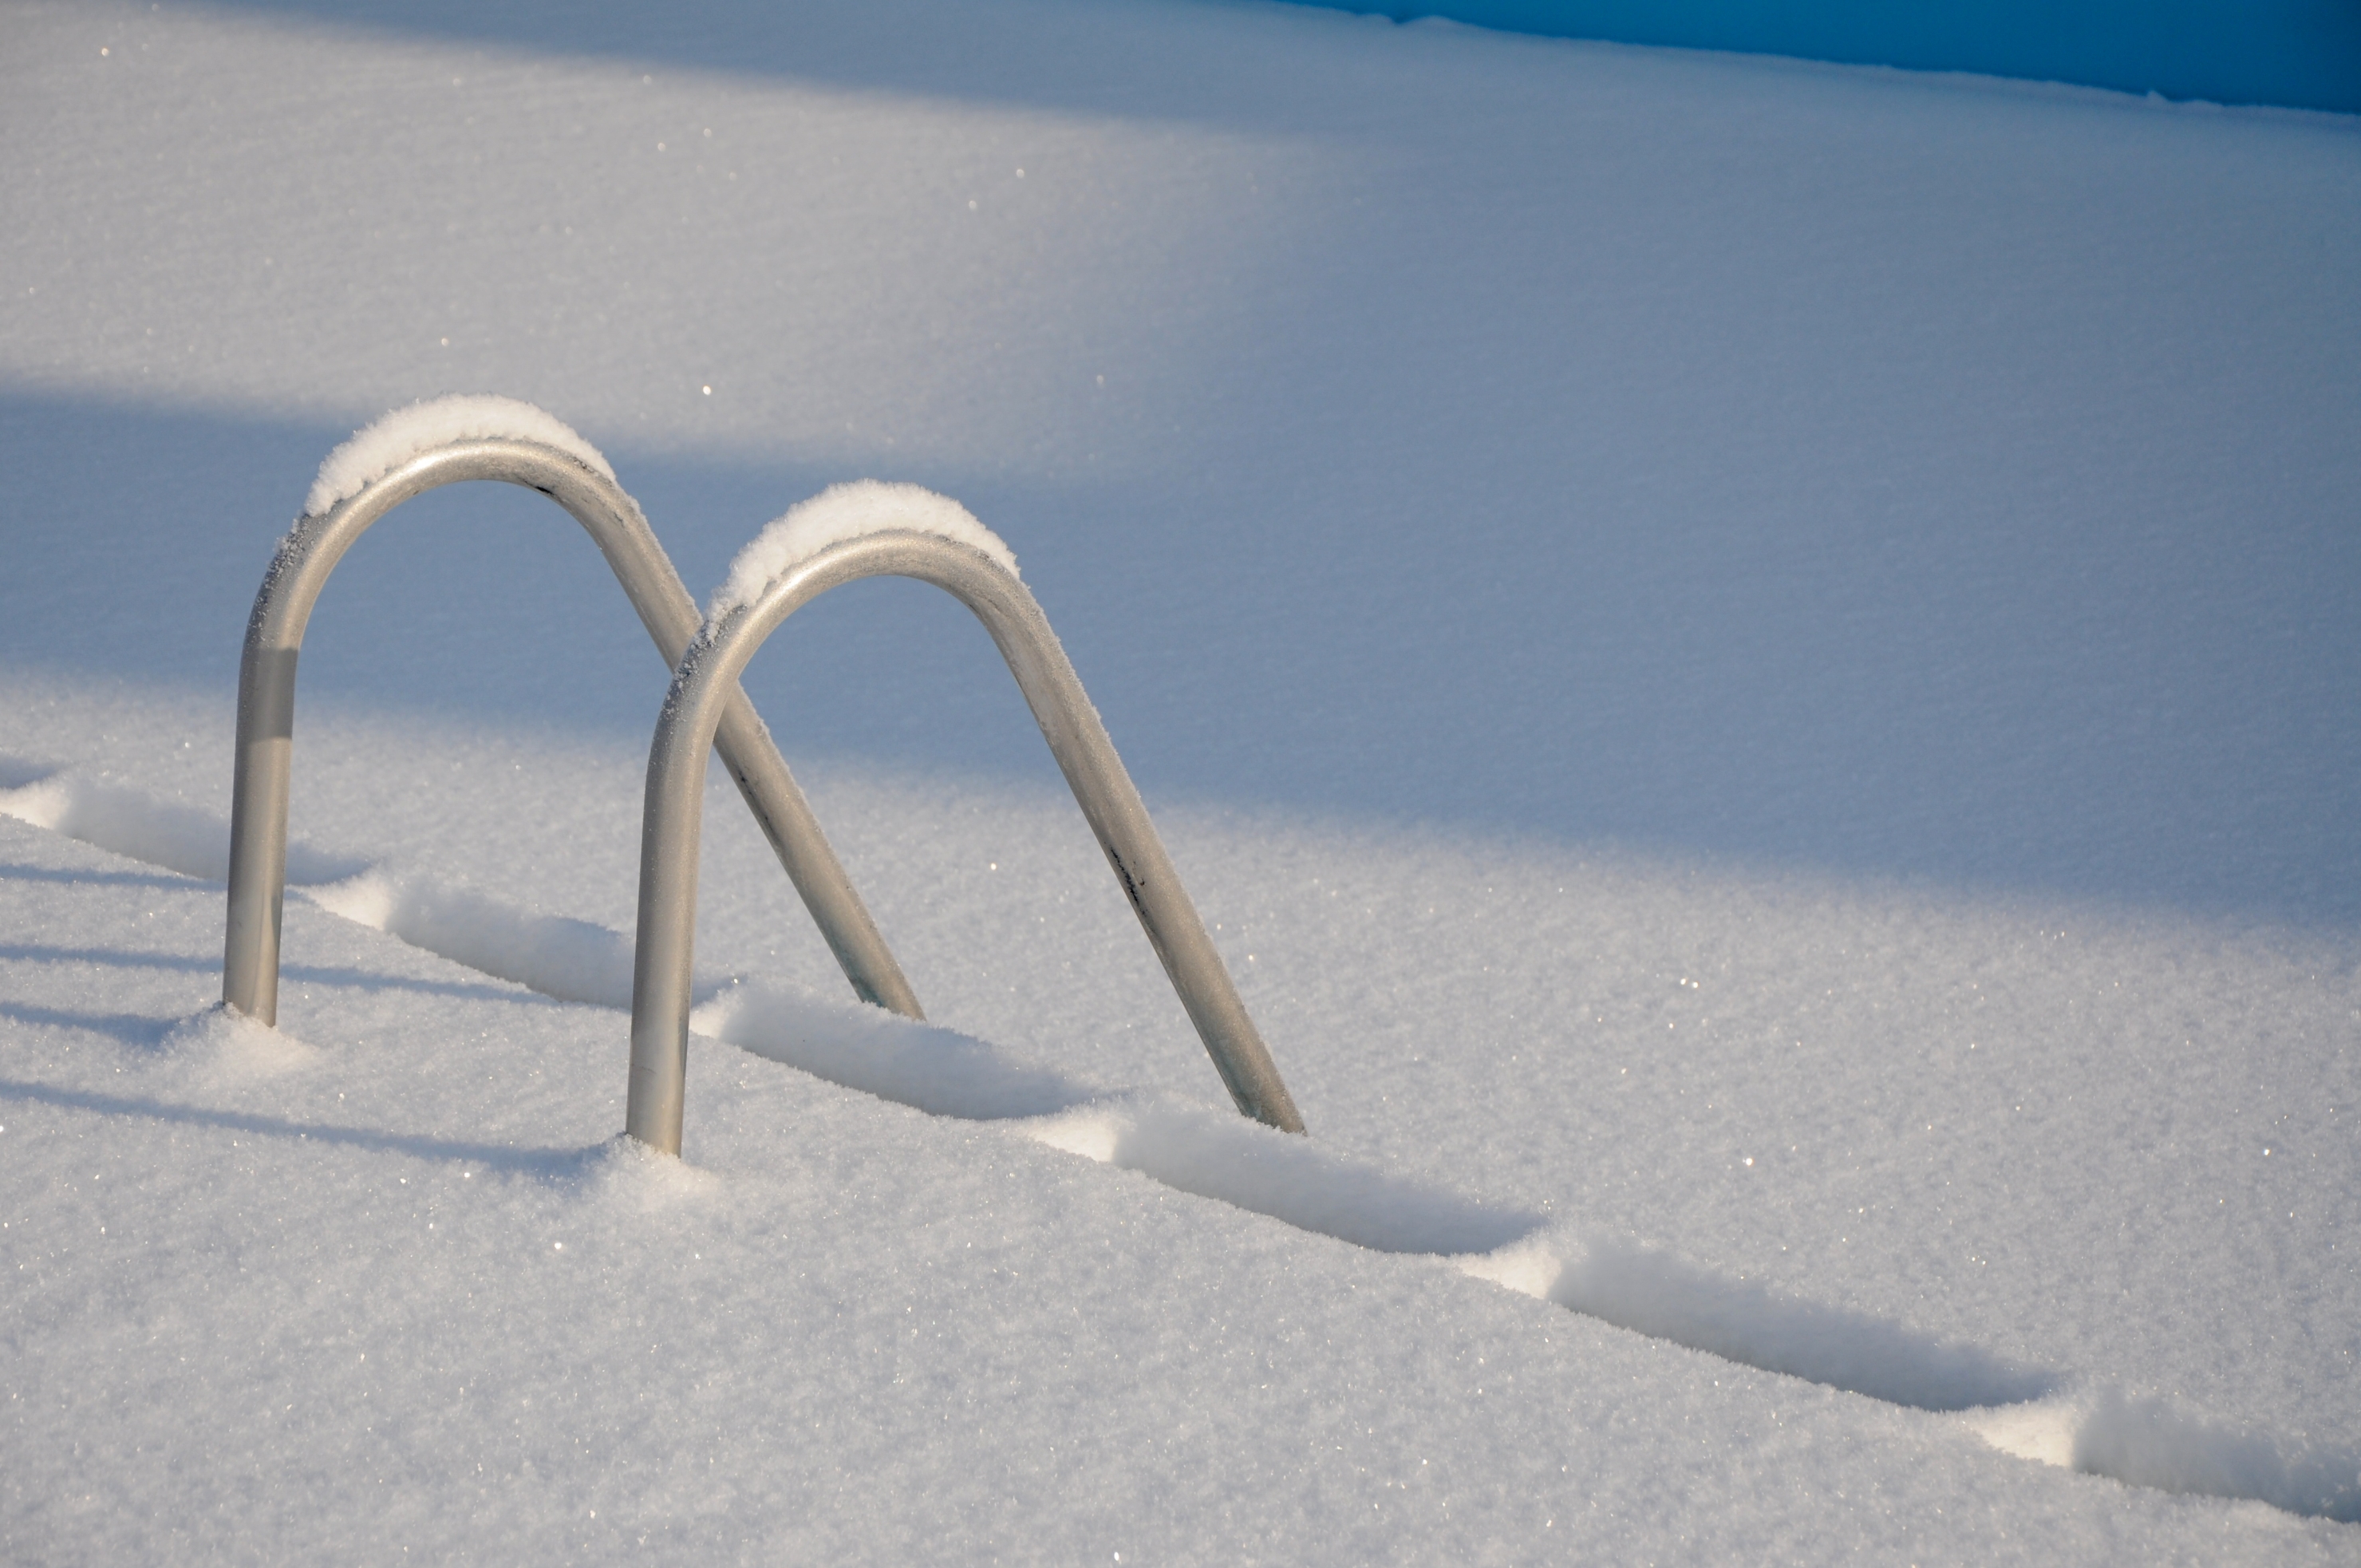
If you leave your pool accessories, such as ladders, rails, or slides, in the pool over the winter, they're more prone to rust, and it becomes harder to find a well-fitting winter cover that accommodates them.
Remove all of your accessories before cleaning and drying them thoroughly, then store them in a clean, dry place out of direct sunlight.
Be sure to remove the fittings from your return lines, including the line for automatic cleaners if you have one. Then pull out and clean your skimmer baskets. A quick tip: you can store the fittings in your skimmer basket over the winter, so you know where they are come spring.
The winter cover you choose depends on a few things, such as the weather where you are and what you want the cover to do.
Solid Winter Covers protect your pool from contaminants while keeping its chemistry in check. Use water bags to keep the cover from sinking into the pool over time and to prevent any gaps along the edges of your pool.
Throughout the winter, you will need to remove pooling water from the cover to protect it and prevent that dirty water from falling into your pool come spring. The best way to do this is with a pool cover pump.
You will also want to keep your pool cover clean (without using anything sharp like a rake or a shovel). A broom works well to remove leaves and even a few inches of snow.
Pool Safety Covers can help keep people and animals from falling into the water while performing all the other essential functions of a winter cover. They're often solid, but can also be available in mesh and hybrid options that have a mesh panel to let water drain into your pool.
If you use a mesh or a hybrid cover, check the water level periodically during winter to account for snowmelt.


